The individual wizard pages in the program are designed to guide you through the process of creating an MSI package.
Some of the pages asks for information that may require a little bit of explaining. This section of the documentation will explain the information found on each of the wizard pages.
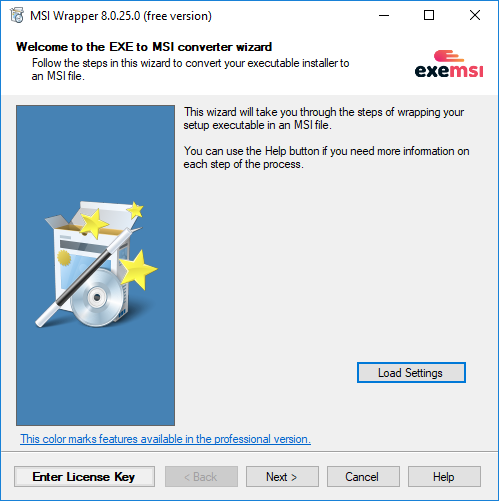
Load Settings
On the wizard start page you can load a previously saved configuration file.
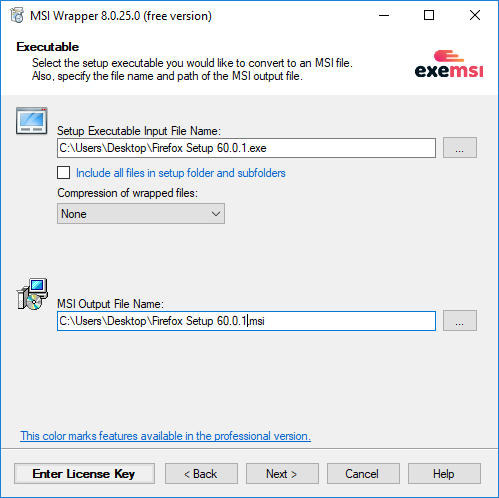
Setup Executable
Select the setup executable you want to wrap in an MSI package in this step of the process. Your executable installer is the setup program with a .exe extension and should be located somewhere on your computer or on a network drive.Include Files
You can include all the files from the folder where the wrapped executable is located. If you enable this feature then all the files and subfolders are included. When the wrapped installer is run during the installation, all the included files are extracted to a temporary folder.
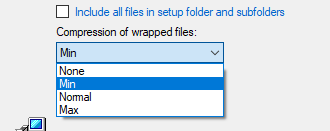
Compression Level
A file compression takes place when the wrapped executable and other included files are stored in the MSI. You can choose the compression level to use. Please note that the compression can take a lot of time and the wrapped installer is often compressed already. Therefore, it is recommended to use a low compression level or none at all. This will improve the overall performance.
Visibility in Apps & Features
In the Windows Control Panel you can get a list of installed programs. A normal setup program will add an entry in this list for the installed program. This entry is typically used when the administrator wants to uninstall the program.
When you wrap the executable installer the default behavior is to show the MSI package in the list of installed programs and hide the entry from the wrapped installer. The entry of the wrapped installer is not removed, it is marked as a system component and therefore only hidden. If you uninstall the MSI package it will look at the hidden entry of the wrapped installer and run the wrapped uninstaller to remove the program.
If you want to change the default behavior, then you can do so using the visibility setting of the MSI package and the wrapped installer.
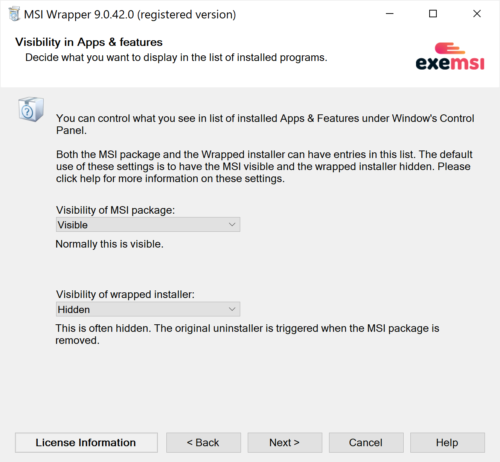
The settings have the following meaning:
- Visible – The entry in the list will be visible.
- Hidden – The entry in the list is hidden by marking it as a system component.
- None – The entry is deleted.
Setting visibility to none has the following consequences:
For the wrapped executable this means that the normal uninstall information is lost. The uninstaller is usually still in the installation folder but the information about how it should be called is not in the registry anymore.
If you set the MSI Package visibility to none then the MSI package will not register itself with Windows Installer. This means that it will do the job but then Windows will forget about it. This configuration can be used if you want the MSI package to launch your wrapped installer and then be gone.
Security Context
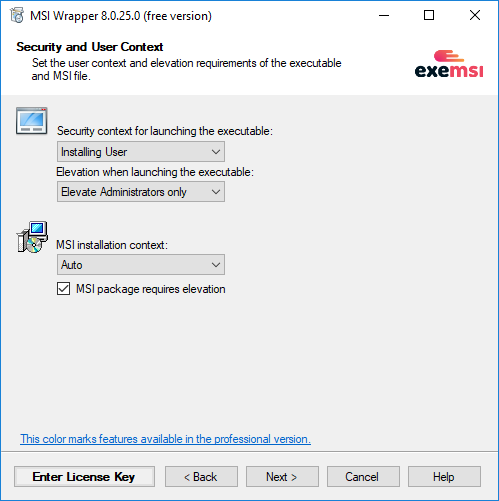
The wrapped setup can run in one of two different security contexts. The Windows Installer the processes the MSI packages runs in the context of the System user. This means that it can also choose to run the wrapped setup in the security context of the System user.
Running as the system user gives you full access to most of the file system and the registry during installation. However, you will not have access to things such as network drives or resources. You should choose to install in the context of the user if your MSI requires access to network resources or user specific settings.
Per User or Per Machine
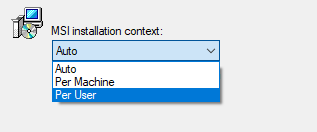
In case your wrapped installer is only making changes for the current user you can choose to mark the MSI as a “Per User” installation. This will lower the requirements to elevation and make the MSI write registry values in the user’s part of the registry instead of the more general area for machine wide settings.
Application Id
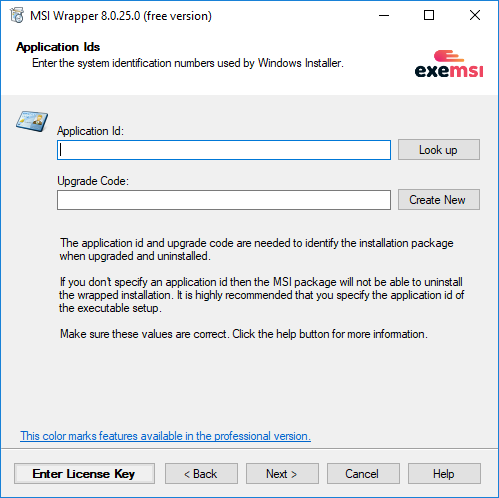
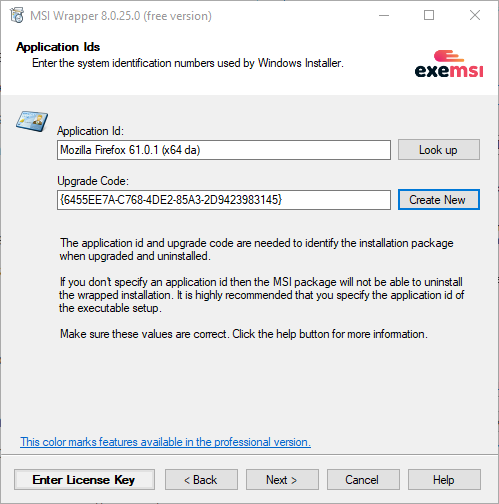
The application id is a unique text string that identifies the installed program. When you make a normal installation of your executable installer it will create an entry in the “Add or Remove Programs” list under the control panel. Information about each installed program is stored in the computer’s registry database. Each program has an entry under a unique application id.
When wrapping an executable installer in a MSI package it is important to find the correct application id for the program you are trying to wrap. Here are the steps to locate the correct application id for your program.
- Run the executable setup as you normally would to install the program.
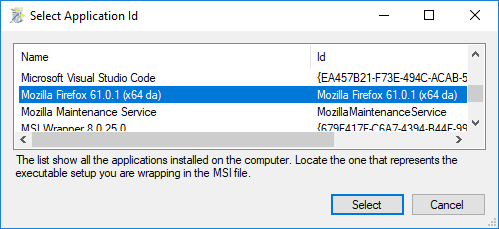
- Click the “Look up” button next to the application id input field.
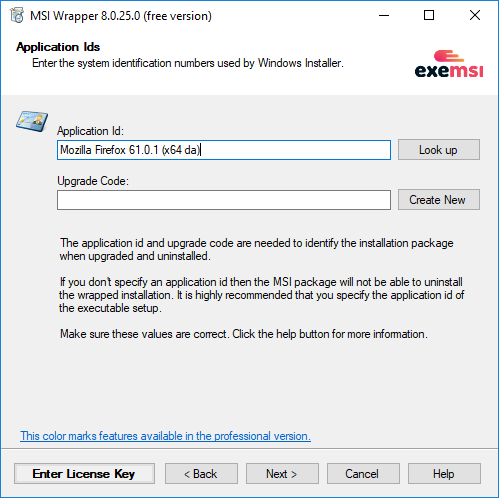
- Select the program from the list of programs.
Using the look up button after installing the program is the most secure way to find the correct application id.
When an MSI package is uninstalled it will use this application id to locate the uninstall information for the wrapped setup program. The registry will hold an uninstall command line. It is required for a setup executable to write this uninstall command line in the registry during the installation. Otherwise, Windows would not be able to uninstall it. This means that your wrapped program will uninstall automatically if you specify the correct application id. It doesn’t matter if your original setup was built with Inno Setup, NSIS from Nullsoft or any other installation framework.
The MSI Wrapper is capable of uninstalling more than one application during the uninstall of the MSI package. A list of application identifiers can be specified to achieve this. Identifiers in the list must be separated by the | character such as:
appid1|appid2|appid3
Upgrade Code
Another important id is the upgrade code. All programs installed using the Windows Installer must have an upgrade code. This code is used when you are trying to install a new version of a program that already exists on the computer. It will use the upgrade code to determine if the program is already installed and select the proper actions based on this. You choose the upgrade code yourself. It is a GUID and you can use the “Create New” button to generate one if you don’t have one already.
Please keep in mind that it is important that you use the same upgrade code if you create an MSI package for a newer version of a program that you already have an MSI package for.
Properties
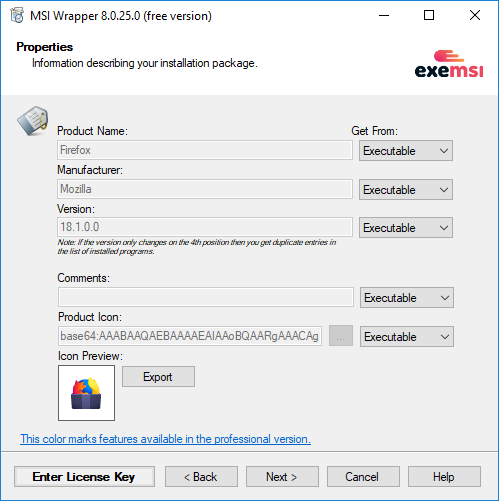
An MSI package contains some basic information about itself and the program it will install on the computer. This type of information is stored in a range of properties. The values of most of these properties will be reflected in the list of installed programs under “Add or Remove Programs” in the computer’s control panel.
If you already have the program installed on your computer and you selected the correct application id on the previous page then you can let the MSI Wrapper detect the values in the registry database.
File properties
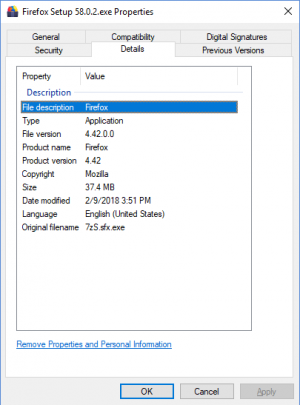
In case you prefer to read some of these values from the setup executable then you can select to do so. All you need to do is make sure that the information is in your setup executable already and change the selection in the drop down list next to the input field.
You can inspect the values in your setup executable by right clicking it in a File Explorer window and select “Properties”. The details tab will show you the property values stored inside the executable.
Install Arguments
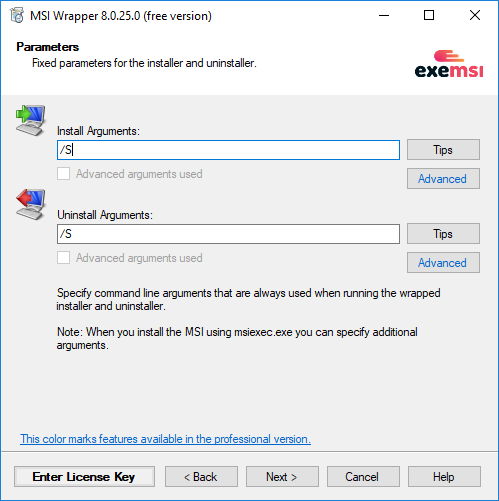
When the wrapped setup executable is installed it is unpacked to a temporary location and run by the Windows Installer. Using this step in the wizard you can tell the Windows Installer that you would like to pass some command line parameters to the setup program when it is run.
Silent Installation
Let’s say you want the wrapped setup program to run silently. In this case you need to figure out which command line switches are supported by the setup program that you are converting to MSI. Maybe you have access to some documentation that tell you which switch to use. Alternatively, you can click on the “Tips” button. This will make the wizard inspect the setup executable that you specified earlier in the wizard. If the wizard can determine which installer framework the developers of the setup executable used, then it will display some general information about the commonly accepted command line switches for setup programs built on that particular installation framework.
Uninstall Arguments
The same applies to the execution of the uninstall routine as for the installation routine. Here you can also add parameters that will make the uninstaller run silently or perform other controlled actions if the wrapped uninstaller supports such command line options.
Actions
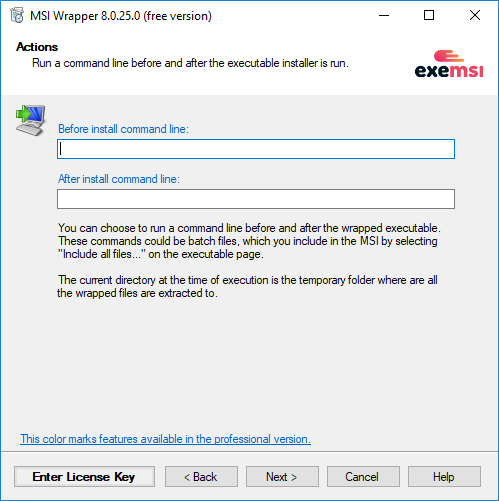
Sometimes, you may want to run a command line before or after the wrapped executable is run. With these settings you can specify such command line actions. The action can point to an executable or a batch file, which you include in the setup. You can write a full command line including parameters if needed.
You can pass information from the setup environment to the command line using macro values. These macros can be used.
- The exit code of the executing wrapped installer.
- The UI level of the MSI when running. More information about UI levels are available here: https://msdn.microsoft.com/en-us/library/windows/desktop/aa372096(v=vs.85).aspx
When the commands are run the current directory points to the temporary folder where the files were unpacked to. This is the folder where the wrapped executable is found. Please note that this folder is removed when the installation is finished.
Summary
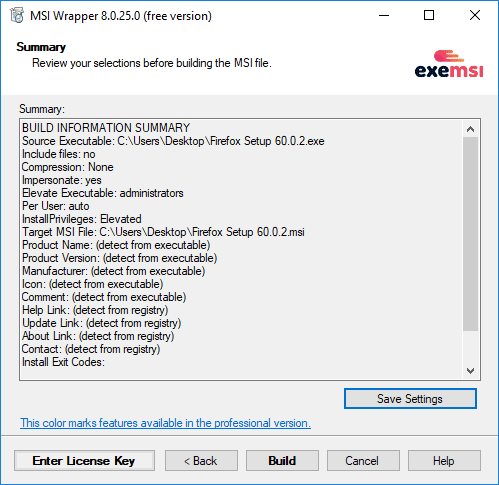
The summary pages will list the choices you have made on the previous wizard pages. It will serve as a final overview before you decide to click the “Build” button and start the process of building the MSI package.
Save Settings
In case you might want repeat the process with the same settings it can be useful to save the current settings in a configuration file. Next time you run the wizard you can load the saved settings on the first page of the wizard.
Status page
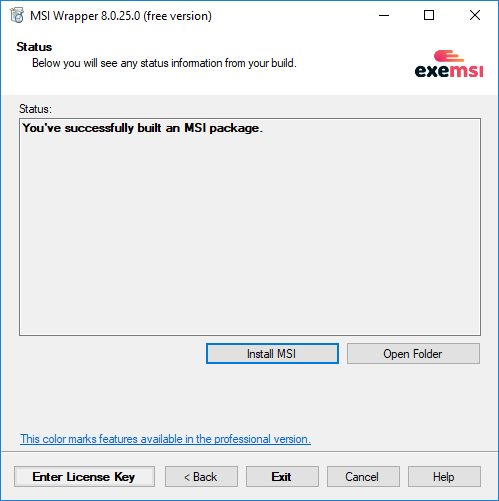
When the building process is done the wizard will show you the status page. This page contains information about the build process and will notify you if any errors occurred while compiling and linking the MSI package.
Open Folder
An “Open Folder” button is show. When clicked it will open the File Explorer in the folder where you output MSI is located. Please note that if the build process failed it may show you an old MSI file that may be the result of a previously successful build.
Install MSI
Clicking the “Install MSI” button will take you to a new window where you can find information about running the newly created MSI package.
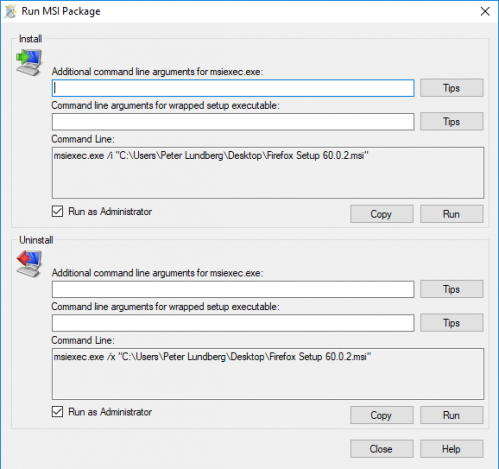
This dialog will help you collect the command line information you need to run the newly created MSI package. A complete command line is assembled based on the parameters you wish to send to msiexec.exe and the wrapped installer.
Tips
The tips button will suggest some command line options that are commonly supported by a setup executable built on the same installer framework as your currently selected setup executable.
Copy
You can click the “Copy” button to copy the command line to the clipboard.
Run
The run button will launch the command line. This is useful if you wish to test the shown command line.
